Build a custom analog clock widget in Bonita UI Designer
Create a clock widget and define its appearance
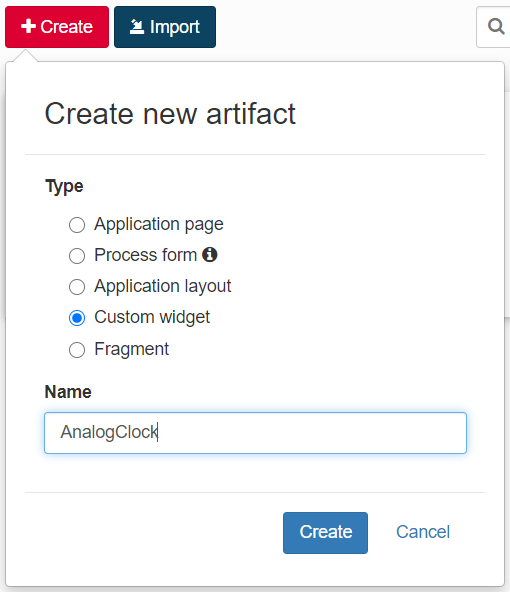
Step 1: Get started
- Go to the Bonita UI Designer home page.
- Click on the Create button.
- Choose Custom widget.
- Give an appropriate name to the widget (eg. AnalogClock).
- Click on Create.
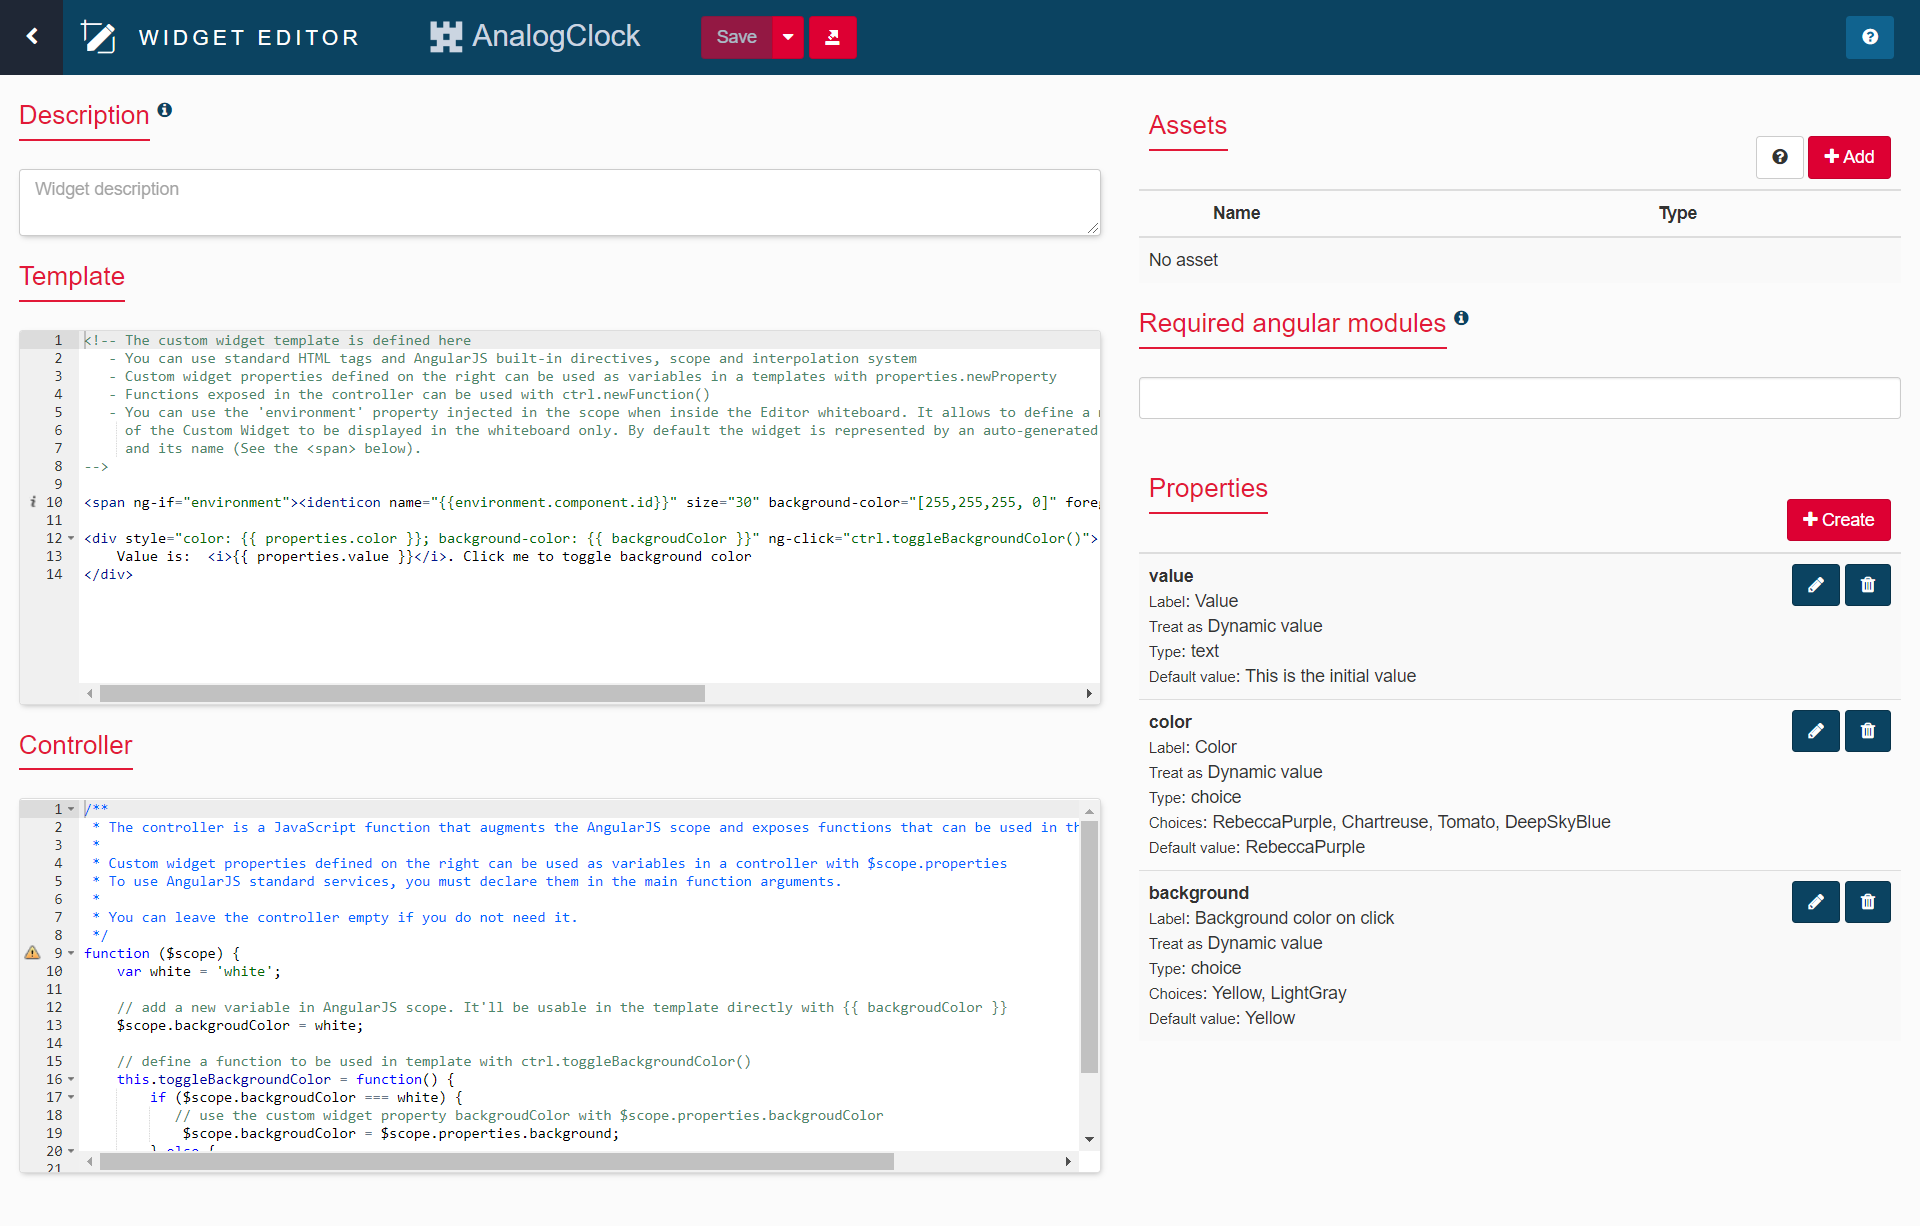
The custom widget editor window will appear. A custom widget is composed of six sections: Description, Template, Controller, Assets, Required angular modules and Properties. For this custom widget, we will make some modifications in the Description, Template, Controller and Assets sections only.
Step 2: Remove default information
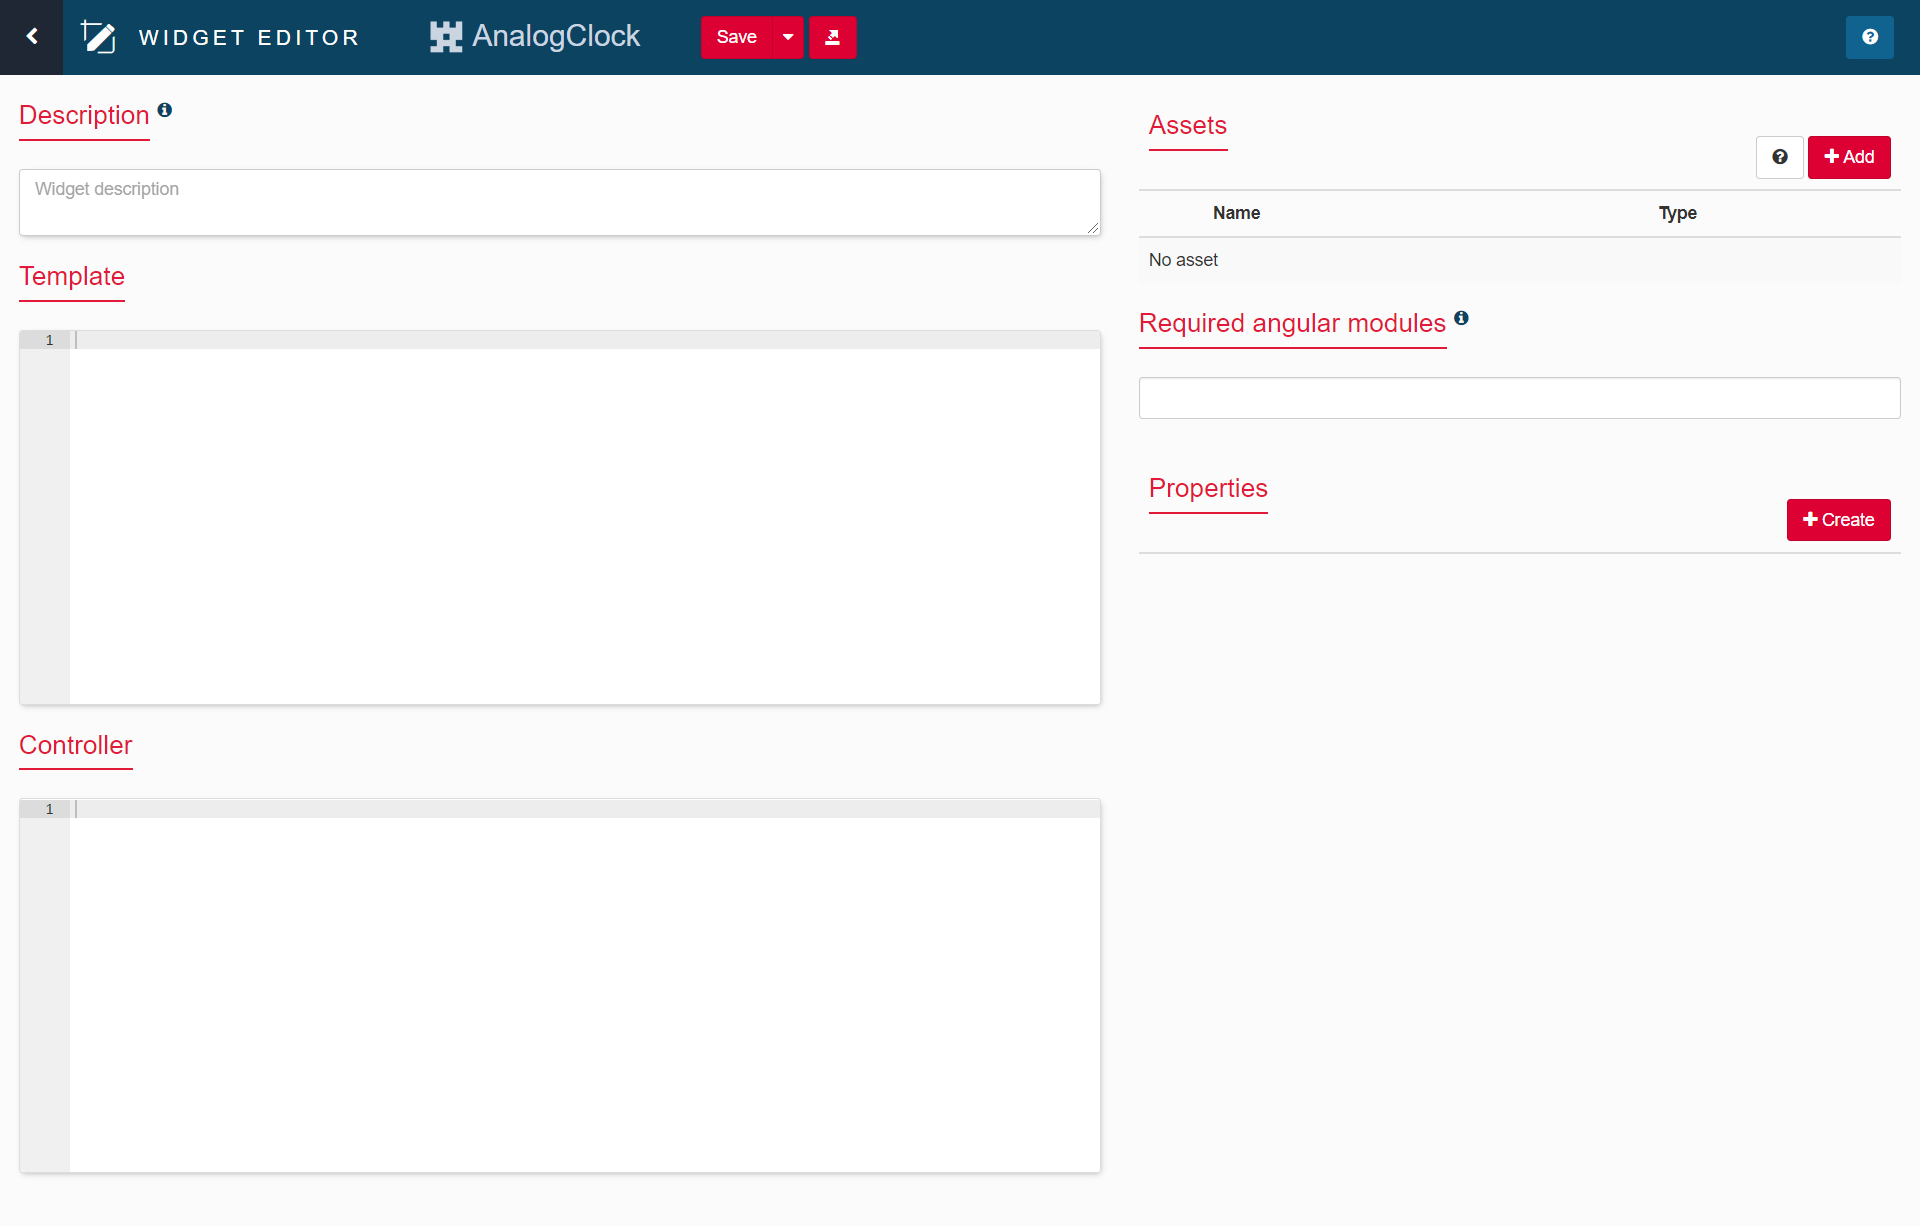
- Remove everything from all the sections. We are going to create this widget from scratch.
Now, the widget editor window looks like this:
Step 3: Set the description
- In the description section, describe the widget and its behavior. This description will be shown when we hover over the widget in the custom widget list.
- In the Description section, write the basic information about the widget. For example:
“This is a custom analog clock widget built with UI Designer which is useful to display the current time.”

Step 4: Define the Template section
In this step, we define how the widget will be displayed in the UI Designer whiteboard. We are going to add some HTML markup to display a clock SVG image only when the "environment" variable is defined, i.e. we are in the UID whiteboard.
In Step 8 we will add more HTML markup to deal with how the widget should be rendered at runtime, i.e. when the page is actually displayed in an application.
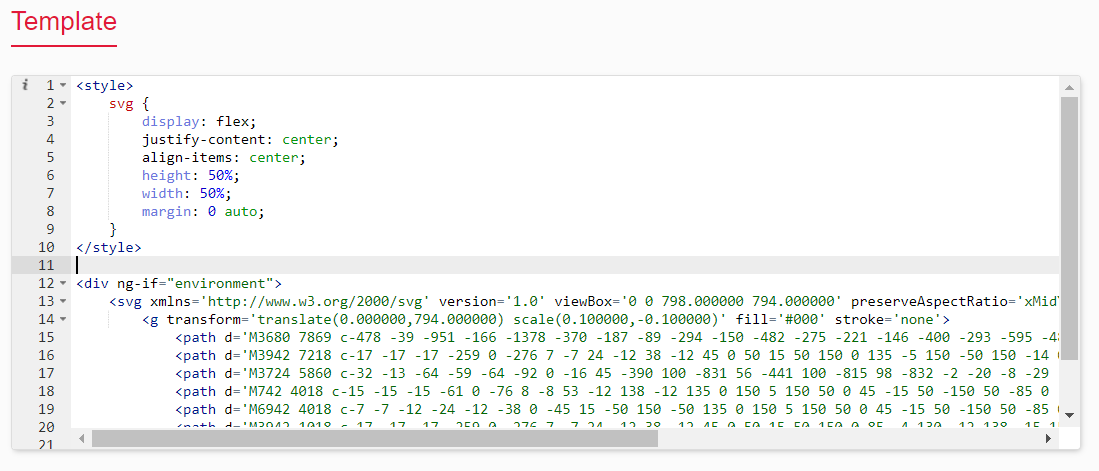
In the template section, write the following HTML and CSS codes:
HTML
<div ng-if="environment"> <svg xmlns='http://www.w3.org/2000/svg' version='1.0' viewBox='0 0 798.000000 794.000000' preserveAspectRatio='xMidYMid meet' style=' '> <g transform='translate(0.000000,794.000000) scale(0.100000,-0.100000)' fill='#000' stroke='none'> <path d='M3680 7869 c-478 -39 -951 -166 -1378 -370 -187 -89 -294 -150 -482 -275 -221 -146 -400 -293 -595 -489 -322 -321 -571 -672 -764 -1077 -507 -1060 -507 -2296 0 -3356 89 -187 150 -294 275 -482 146 -221 293 -400 489 -595 321 -322 672 -571 1077 -764 1060 -507 2296 -507 3356 0 187 89 294 150 482 275 221 146 400 293 595 489 322 321 571 672 764 1077 507 1060 507 2296 0 3356 -89 187 -150 294 -275 482 -146 221 -293 400 -489 595 -321 322 -672 571 -1077 764 -609 291 -1316 423 -1978 370z m730 -214 c715 -85 1386 -375 1947 -840 138 -115 343 -320 458 -458 468 -564 753 -1228 842 -1957 24 -202 24 -638 0 -840 -52 -429 -162 -803 -349 -1190 -465 -965 -1316 -1672 -2358 -1960 -148 -41 -380 -86 -550 -107 -202 -24 -638 -24 -840 0 -429 52 -803 162 -1190 349 -965 465 -1672 1316 -1960 2358 -41 148 -86 380 -107 550 -24 202 -24 638 0 840 52 429 162 803 349 1190 465 965 1316 1672 2358 1960 207 58 479 103 735 124 109 8 536 -3 665 -19z'/> <path d='M3942 7218 c-17 -17 -17 -259 0 -276 7 -7 24 -12 38 -12 45 0 50 15 50 150 0 135 -5 150 -50 150 -14 0 -31 -5 -38 -12z'/> <path d='M3724 5860 c-32 -13 -64 -59 -64 -92 0 -16 45 -390 100 -831 56 -441 100 -815 98 -832 -2 -20 -8 -29 -18 -27 -8 1 -638 280 -1398 618 -761 339 -1390 613 -1398 610 -8 -3 -14 -14 -14 -24 0 -16 244 -128 1373 -631 l1372 -611 -1211 0 c-1160 0 -1212 -1 -1227 -18 -22 -24 -21 -65 1 -85 17 -16 119 -17 1258 -17 l1239 0 17 -30 c19 -33 86 -70 128 -70 42 0 108 37 130 72 42 68 35 139 -20 201 -27 32 -28 34 -129 857 -56 454 -106 836 -110 850 -8 27 -64 70 -90 69 -9 0 -26 -4 -37 -9z m316 -1775 c16 -9 36 -29 45 -45 31 -60 10 -137 -45 -165 -110 -57 -222 55 -165 165 29 55 105 76 165 45z'/> <path d='M742 4018 c-15 -15 -15 -61 0 -76 8 -8 53 -12 138 -12 135 0 150 5 150 50 0 45 -15 50 -150 50 -85 0 -130 -4 -138 -12z'/> <path d='M6942 4018 c-7 -7 -12 -24 -12 -38 0 -45 15 -50 150 -50 135 0 150 5 150 50 0 45 -15 50 -150 50 -85 0 -130 -4 -138 -12z'/> <path d='M3942 1018 c-17 -17 -17 -259 0 -276 7 -7 24 -12 38 -12 45 0 50 15 50 150 0 85 -4 130 -12 138 -15 15 -61 15 -76 0z'/> </g> </svg></div>
Note: In the HTML code above, ng-if=”environment” detects that the widget is displayed within the UI Designer whiteboard. This defines how the widget is displayed to the developer within the UI Designer (as opposed to now the widget displayed to the user within a web page at runtime). Additionally, the <svg></svg> tag is used as an SVG image container to draw the paths that generate a clock image.
CSS
<style> svg { display: flex; justify-content: center; align-items: center; height: 50%; width: 50%; margin: 0 auto; }</style>
Note: The CSS codes must be written inside thetag.
- Click on the Save button.
- We have successfully created a new analog clock widget.
Step 5: Pro tip - Define the widget icon (optional)
It is not mandatory, but useful,to give a realistic look and feel to the analog clock widget icon when it appears on the list of a custom widget. To do this:
- Open the “
customAnalogClockWidget.json" file located inside the Bonita workspace (eg. /workspace/My project/web_widgets/customAnalogClock/customAnalogClock.json). - Copy and paste the given code below after the “template” line inside the “
customAnalogClock.json”.
SVG icon for the widget
"icon": "<svg xmlns='http://www.w3.org/2000/svg' version='1.0' viewBox='0 0 798.000000 794.000000' preserveAspectRatio='xMidYMid meet' style=' '><g transform='translate(0.000000,794.000000) scale(0.100000,-0.100000)' fill='#fff' stroke='none'><path d='M3680 7869 c-478 -39 -951 -166 -1378 -370 -187 -89 -294 -150 -482 -275 -221 -146 -400 -293 -595 -489 -322 -321 -571 -672 -764 -1077 -507 -1060 -507 -2296 0 -3356 89 -187 150 -294 275 -482 146 -221 293 -400 489 -595 321 -322 672 -571 1077 -764 1060 -507 2296 -507 3356 0 187 89 294 150 482 275 221 146 400 293 595 489 322 321 571 672 764 1077 507 1060 507 2296 0 3356 -89 187 -150 294 -275 482 -146 221 -293 400 -489 595 -321 322 -672 571 -1077 764 -609 291 -1316 423 -1978 370z m730 -214 c715 -85 1386 -375 1947 -840 138 -115 343 -320 458 -458 468 -564 753 -1228 842 -1957 24 -202 24 -638 0 -840 -52 -429 -162 -803 -349 -1190 -465 -965 -1316 -1672 -2358 -1960 -148 -41 -380 -86 -550 -107 -202 -24 -638 -24 -840 0 -429 52 -803 162 -1190 349 -965 465 -1672 1316 -1960 2358 -41 148 -86 380 -107 550 -24 202 -24 638 0 840 52 429 162 803 349 1190 465 965 1316 1672 2358 1960 207 58 479 103 735 124 109 8 536 -3 665 -19z'/><path d='M3942 7218 c-17 -17 -17 -259 0 -276 7 -7 24 -12 38 -12 45 0 50 15 50 150 0 135 -5 150 -50 150 -14 0 -31 -5 -38 -12z'/><path d='M3724 5860 c-32 -13 -64 -59 -64 -92 0 -16 45 -390 100 -831 56 -441 100 -815 98 -832 -2 -20 -8 -29 -18 -27 -8 1 -638 280 -1398 618 -761 339 -1390 613 -1398 610 -8 -3 -14 -14 -14 -24 0 -16 244 -128 1373 -631 l1372 -611 -1211 0 c-1160 0 -1212 -1 -1227 -18 -22 -24 -21 -65 1 -85 17 -16 119 -17 1258 -17 l1239 0 17 -30 c19 -33 86 -70 128 -70 42 0 108 37 130 72 42 68 35 139 -20 201 -27 32 -28 34 -129 857 -56 454 -106 836 -110 850 -8 27 -64 70 -90 69 -9 0 -26 -4 -37 -9z m316 -1775 c16 -9 36 -29 45 -45 31 -60 10 -137 -45 -165 -110 -57 -222 55 -165 165 29 55 105 76 165 45z'/><path d='M742 4018 c-15 -15 -15 -61 0 -76 8 -8 53 -12 138 -12 135 0 150 5 150 50 0 45 -15 50 -150 50 -85 0 -130 -4 -138 -12z'/><path d='M6942 4018 c-7 -7 -12 -24 -12 -38 0 -45 15 -50 150 -50 135 0 150 5 150 50 0 45 -15 50 -150 50 -85 0 -130 -4 -138 -12z'/><path d='M3942 1018 c-17 -17 -17 -259 0 -276 7 -7 24 -12 38 -12 45 0 50 15 50 150 0 85 -4 130 -12 138 -15 15 -61 15 -76 0z'/></g></svg>",
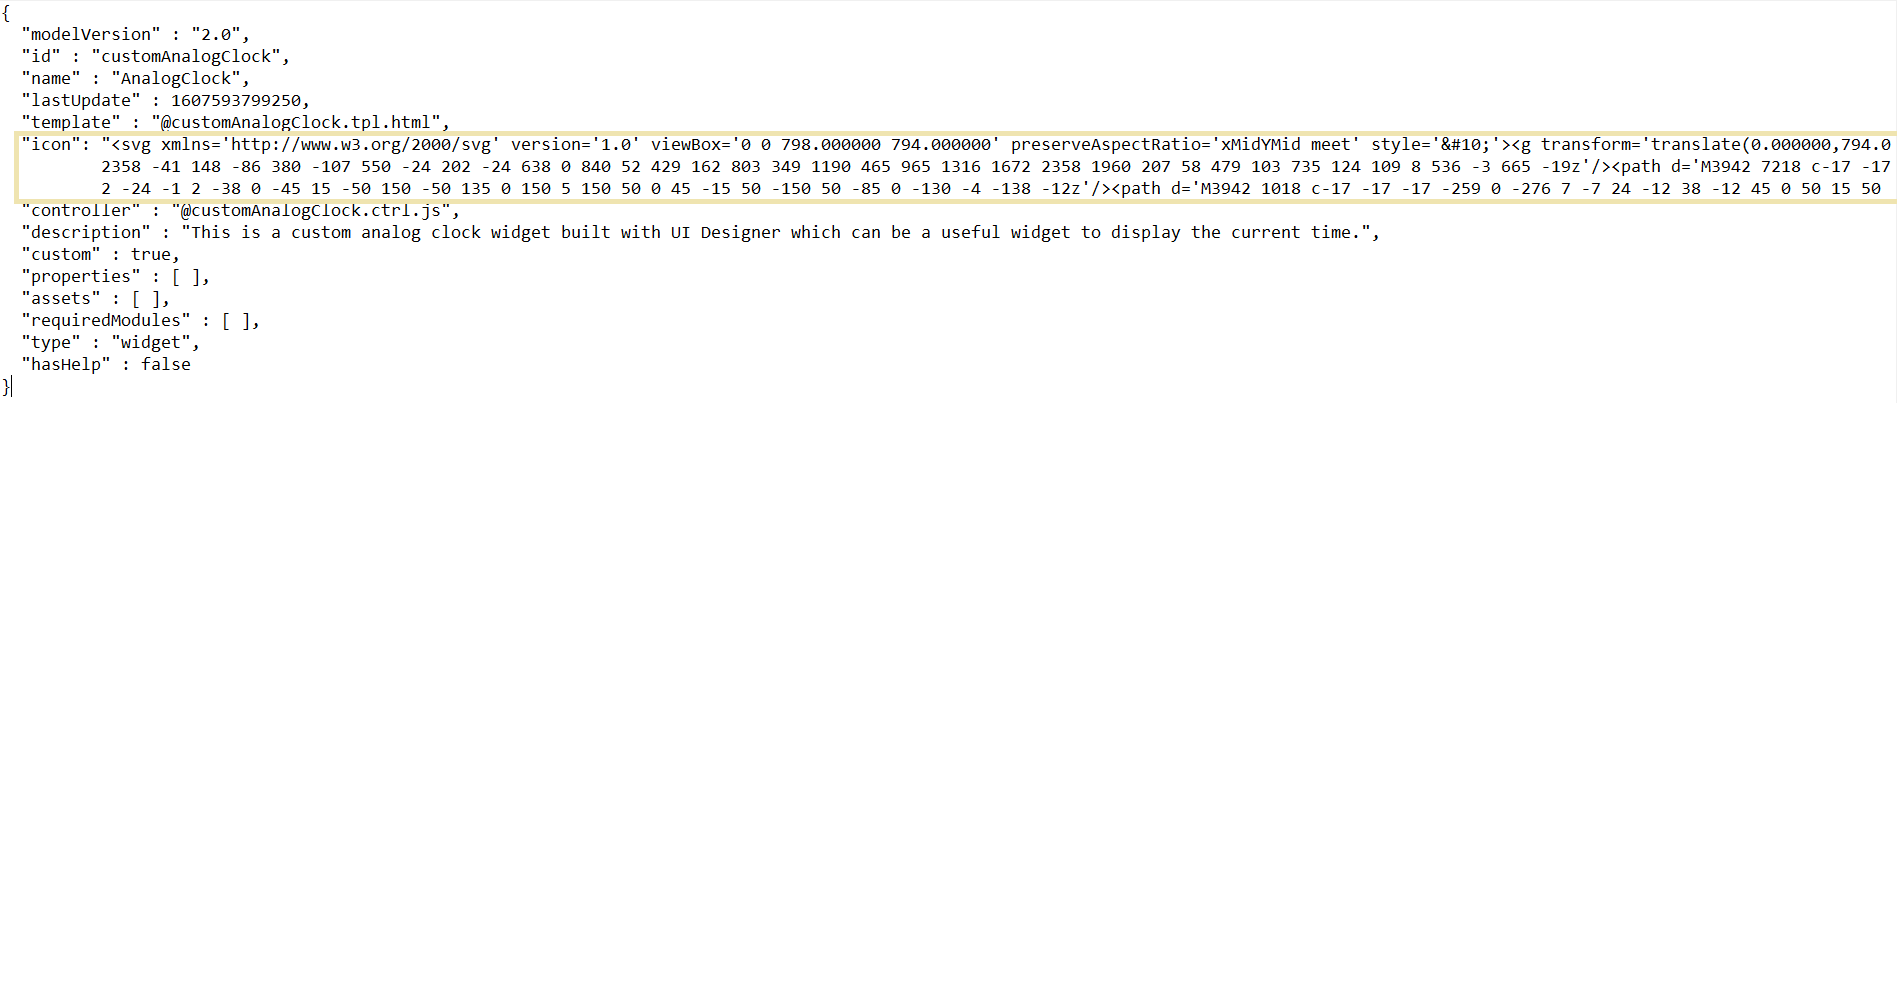
Note: The SVG code generates a clock icon for this widget. Make sure to keep the comma (,) at the end of the line.
- Save the file.
We have now successfully changed the icon of the widget. Now, it's time to use this custom widget inside an application page and check if the clock widget has the correct icon and the display when it is placed onto the whiteboard.
Step 6: Check the widget
- Go to the Bonita UI Designer home page.
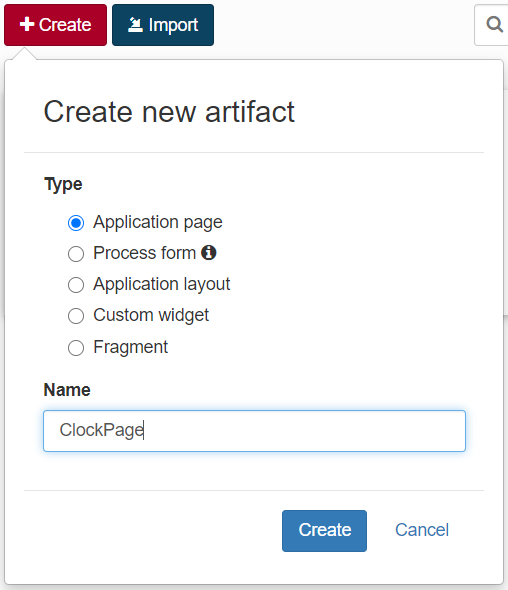
- Click on the Create button.
- Choose Application page.
- Name the page (eg. ClockPage).
- Click on Create.
- The ClockPage editor window will open.
- Now, in the page editor window, click on the custom widgets tab [Image] on the left.
- The AnalogClock widget appears in the list and has a clock image as an icon.
- Drag and drop the clock widget onto the whiteboard.
Output
The widget on the whiteboard will look like this:
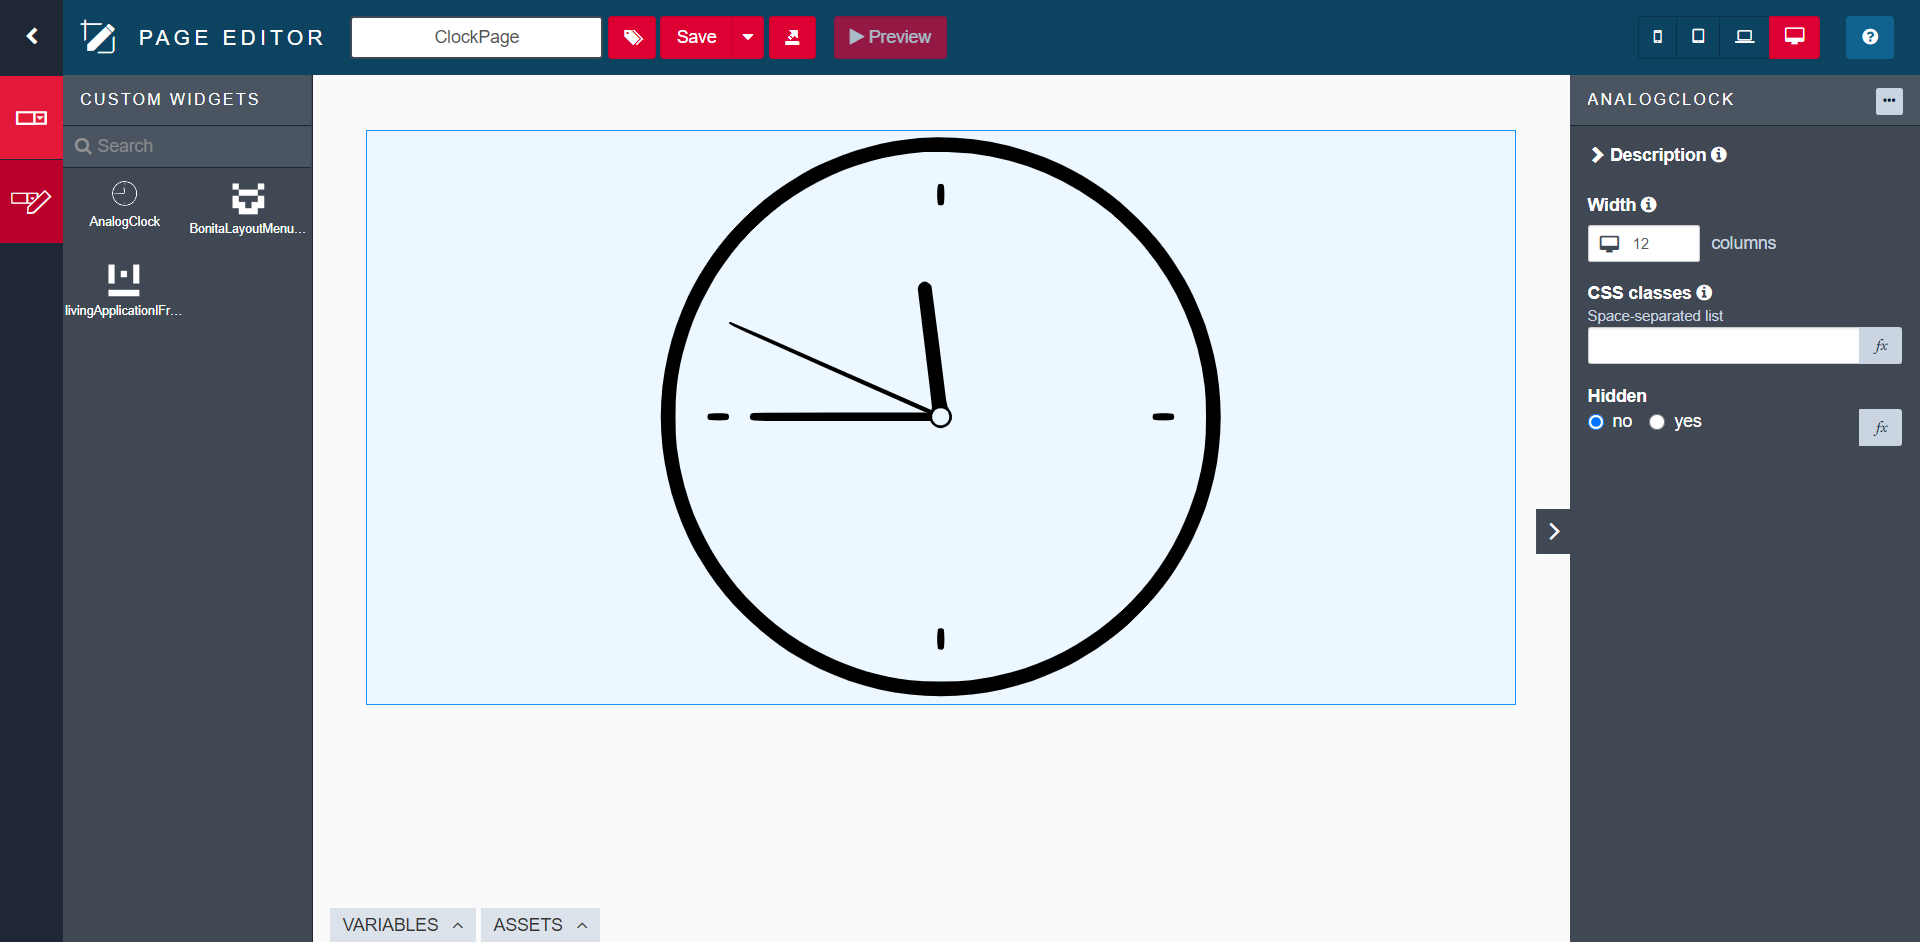
We have completed the definition of the custom analog clock widget, and now we are going to make the clock widget functional to end-users.
Make the widget functional to the end-users
The implementation steps that follow are based on a large device screen resolution (i.e., screen width >= 1200px). You can change the responsiveness of the page by clicking on the device screen size icon that appears on the top right corner in Bonita UI Designer.
Step 7: Edit the widget
- Click and select the custom AnalogClock widget on the whiteboard.
- Click on the “...” button next to the widget name on the right.
- Click on Edit
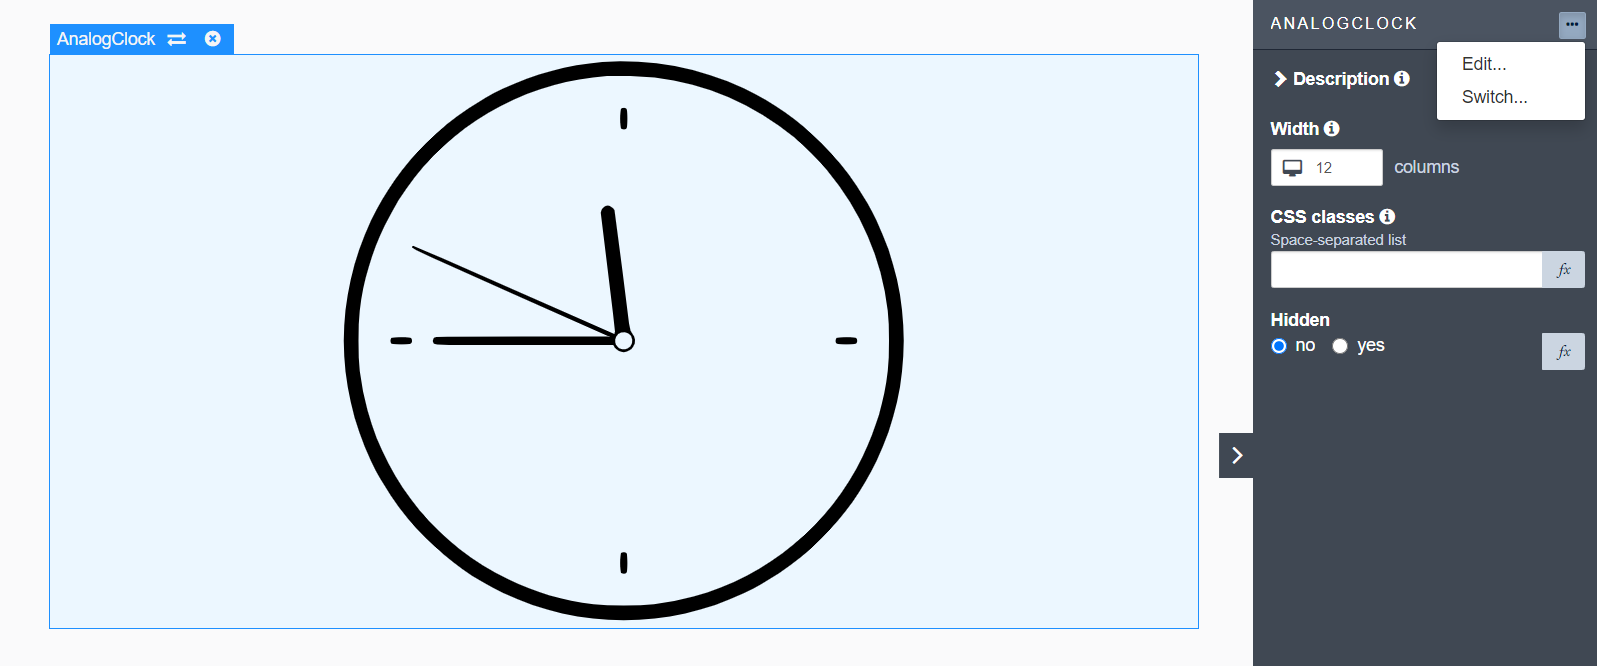
The widget editor window will appear.
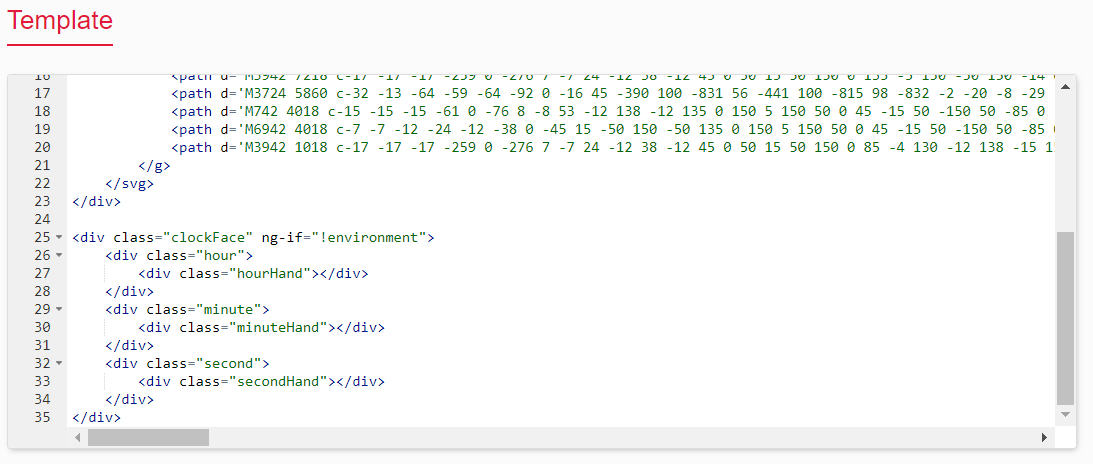
Step 8: Define the Template
In the template section in the widget editor window, write the HTML for the widget that will be displayed to the users at runtime. Write the following HTML code after the closing of <div ng-if=”environment”></div>
HTML
<div class="clockFace" ng-if="!environment"> <div class="hour"> <div class="hourHand"></div> </div> <div class="minute"> <div class="minuteHand"></div> </div> <div class="second"> <div class="secondHand"></div> </div></div>
Note: In the HTML code above, ng-if=”!environment” detects that the widget is to be displayed to the user within a web page at runtime.
Step 9: Add Assets
The Assets section is defined to import the resources (image, CSS, JS) required for the widget. For the clock widget, we will add only an image and a CSS file.
Clock face image
- Download the clock image from this link here. (image source: Google)
- Go to the AnalogClock widget editor window in the Bonita UI Designer and click on the Add button in the Assets section to upload the image file.
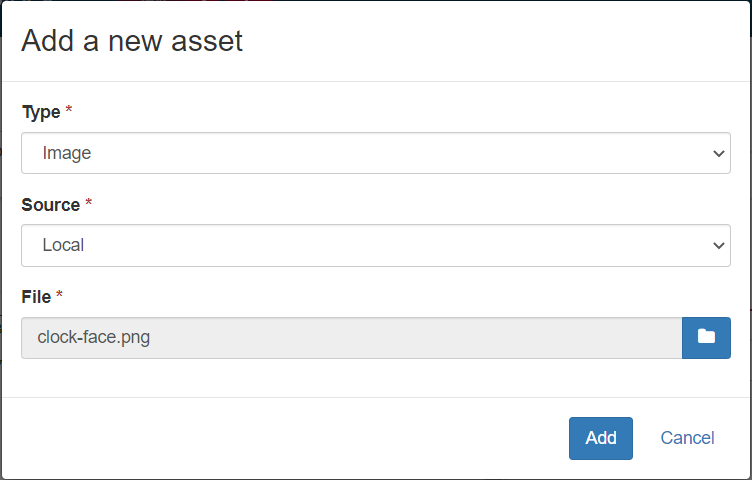
Note: This clock face image file will be used as a background-image property in the CSS clock class. You can use the image URL directly or download and add as an asset.
CSS
- Create a CSS file somewhere on your computer (e.g., D:\analog-clock-widget.css) and copy the following CSS code into it:
.clock-container { display: flex; justify-content: center; align-items: center;}.clockFace { position: relative; width: 150px; height: 150px; display: flex; justify-content: center; align-items: center;background-image: url(../img/clock-face.png); background-color: #0A4561; background-size: cover; border: 3px solid #fff; border-radius: 50%; box-shadow: 0 10px 10px rgba(0, 0, 0, 0.3), inset 0 10px 10px rgba(0, 0, 0, 0.3);}.clockFace:before { content: ''; width: 14px; height: 14px; background: #fff; border-radius: 50%; z-index: 10000;}.clockFace .hour,.clockFace .minute,.clockFace .second { position: absolute;}.clockFace .hour,.hourHand { height: 90px;}.clockFace .minute,.minuteHand { height: 105px;}.clockFace .second,.secondHand { height: 120px;}.hourHand,.minuteHand,.secondHand { display: flex; justify-content: center;}.hourHand:before { content: ''; width: 6px; height: 50px; background: #B52A2A; z-index: 10; border-radius: 6px 6px 0 0;}.minuteHand:before { content: ''; width: 4px; height: 60px; background: #fff; z-index: 11; border-radius: 6px 6px 0 0;}.secondHand:before { content: ''; width: 2px; height: 80px; background: #fff; z-index: 12; border-radius: 6px 6px 0 0;}
Note: Some CSS properties such as height, width, background-color, position, etc. can be defined as you wish. In the CSS code above, “.hr:before”, “mn-before”, and “.sc:before`” are defined to create hour hand, minute hand, and second hand respectively.
- Save the CSS file and close it.
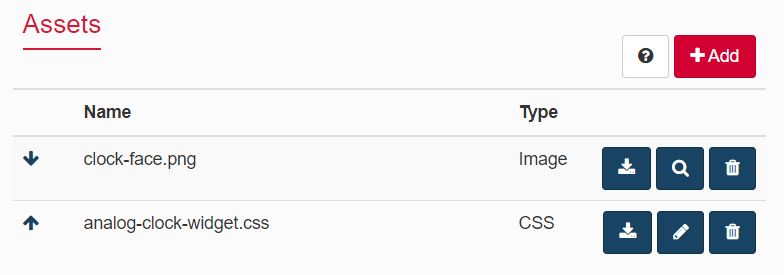
- Go to the AnalogClock widget editor window in the Bonita UI Designer and click on the Add button in the Assets section to upload this CSS file.

As we have added all the required resources, now the Assets section will look like this:
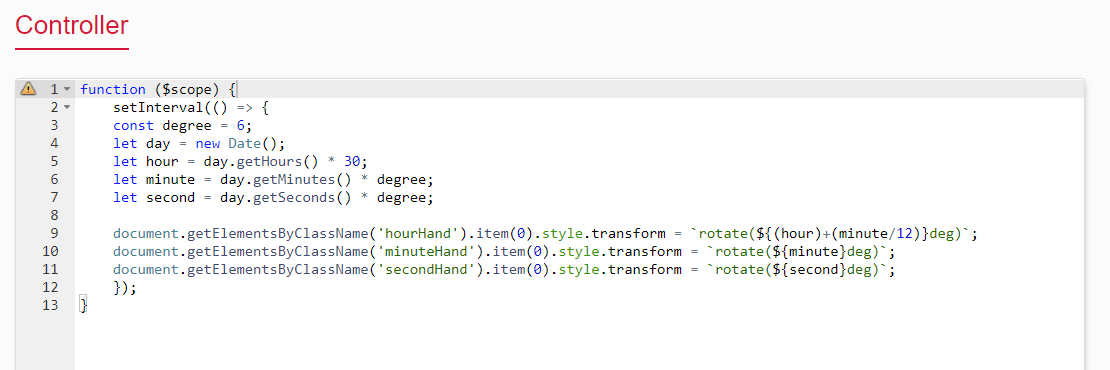
Step 10: Set the Controller
The Controller section is dedicated to implementing the javascript required to make the widget functional.
- In the Controller section, write the following javascript code.
function ($scope) { setInterval(() => { const degree = 6; let day = new Date(); let hour = day.getHours() * 30; let minute = day.getMinutes() * degree; let second = day.getSeconds() * degree;document.getElementsByClassName('hourHand').item(0).style.transform = `rotate(${(hour)+(minute/12)}deg)`;document.getElementsByClassName('minuteHand').item(0).style.transform = `rotate(${minute}deg)`;document.getElementsByClassName('secondHand').item(0).style.transform = `rotate(${second}deg)`; });}
Note: All the javascript code needs to be wrapped inside the function ($scope){} method that augments the AngularJS scope and exposes functions that we can use in the template.
In the code above, we are defining a variable called degree and assigning the value 6 to it, and using the variable to define the minute and second. It is used to rotate the minute hand and the second hand by 6 degrees. Similarly, the hour hand changes its position by 30 degrees when the hour changes.
- Now the controller section will look like this:
- Click on the Save button to save all the modifications applied to the widget.
Add the custom analog clock to a page
Step 11: Add and set the widget properties
- Go back to the Bonita UI Designer home page.
- Click on ClockPage (the page we created previously).
- Clean the page if there is already a widget on it.
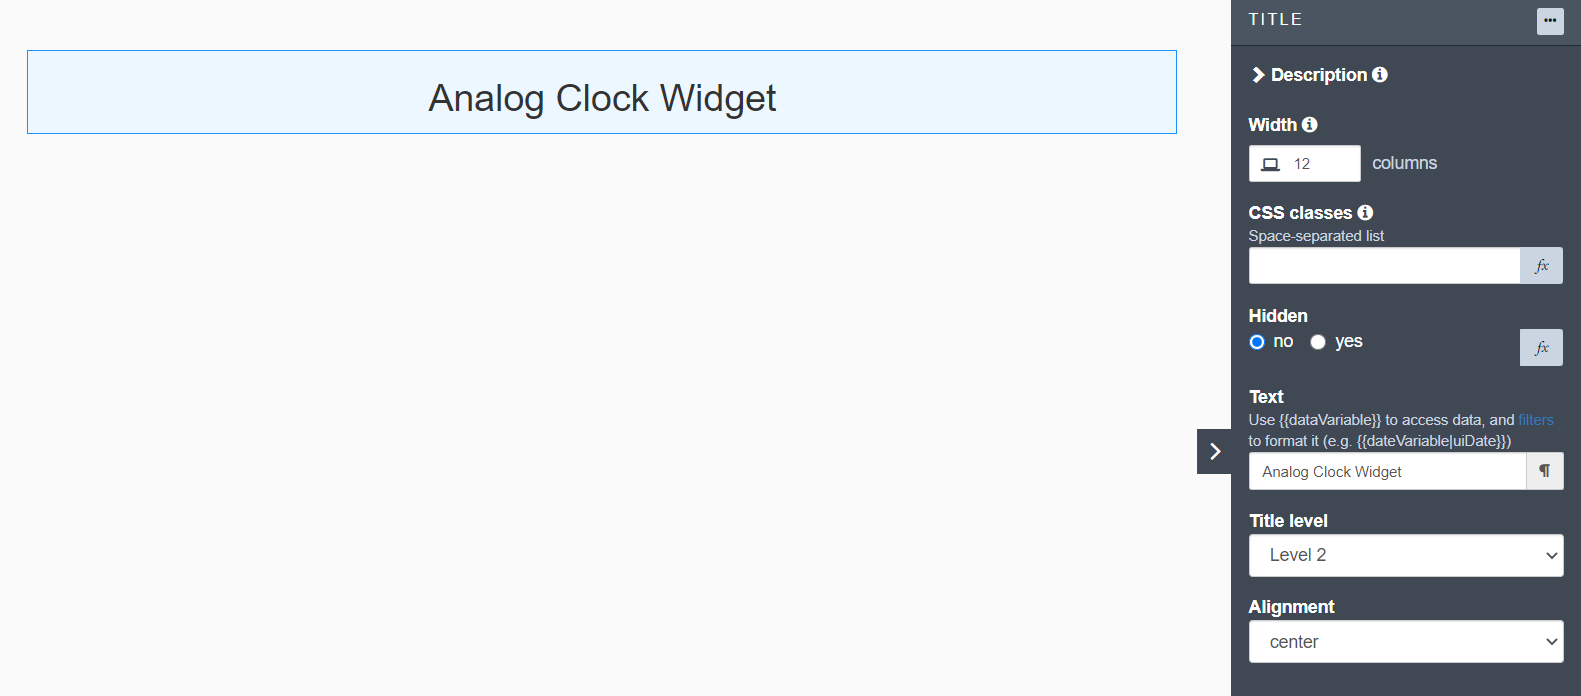
- Drag and drop a Title widget onto the whiteboard and set the properties as shown below:
- Text = Analog Clock Widget
- Title level = Level 2
- Alignment = Center
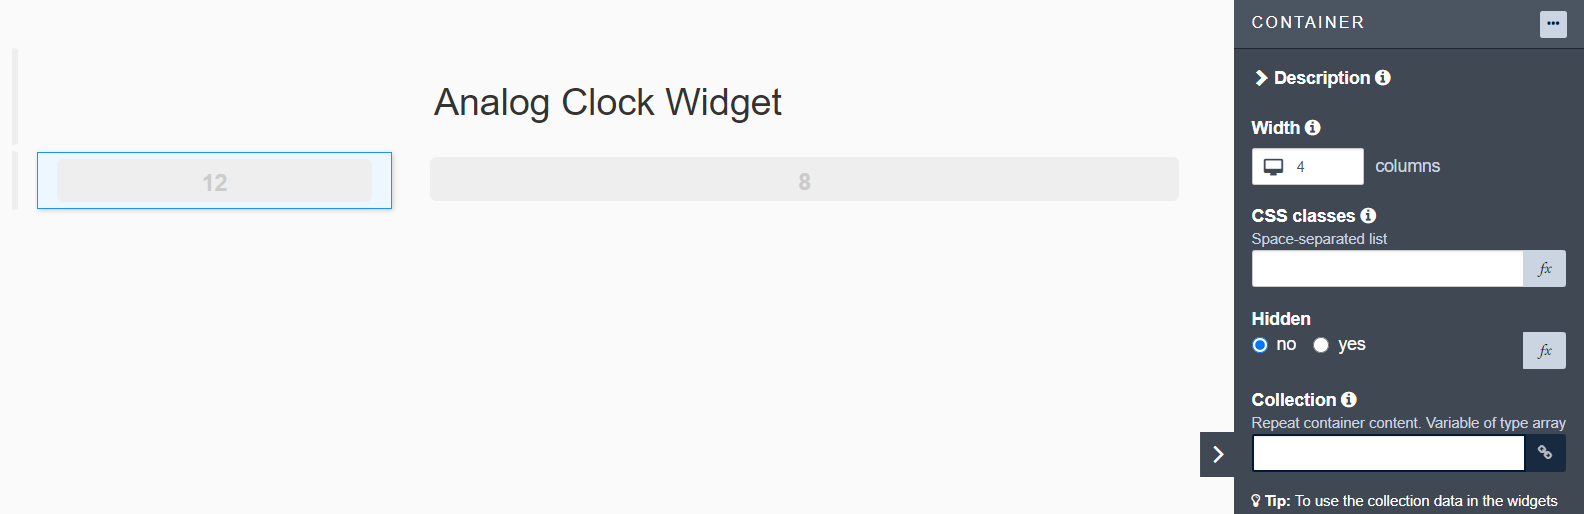
- Drag and drop a container widget below the title widget and set the property Width = 4.
- Click on the Custom widgets tab on the left.
- The AnalogClock widget appears in the list, and the icon is a the clock that we defined in the pro-tip step.
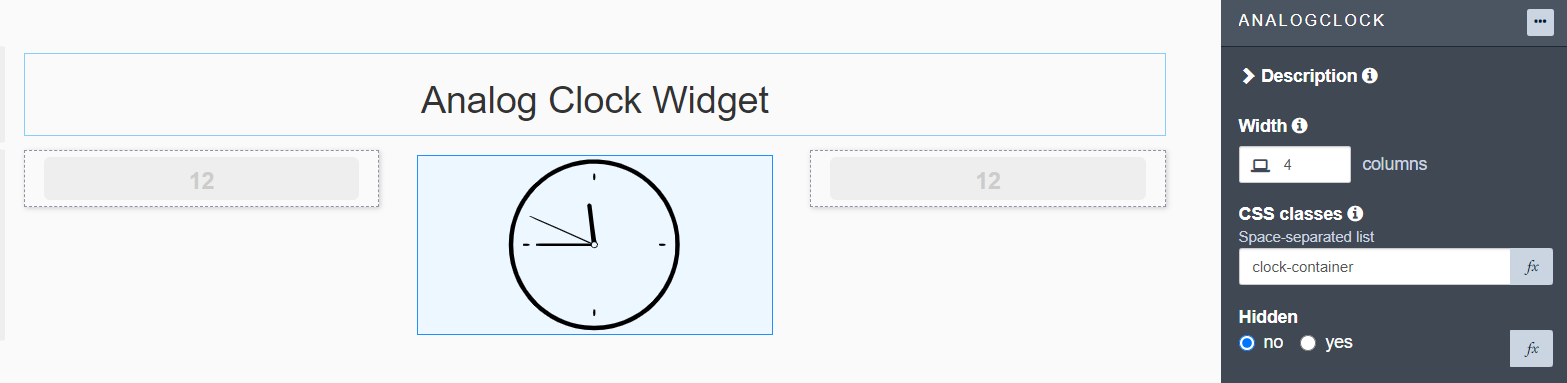
- Drag and drop the AnalogClock widget next to the container widget and set the properties:
- Width = 4
- CSS classes = clock-container
- Drag and drop a container widget next to the clock widget and set the property Width = 4.
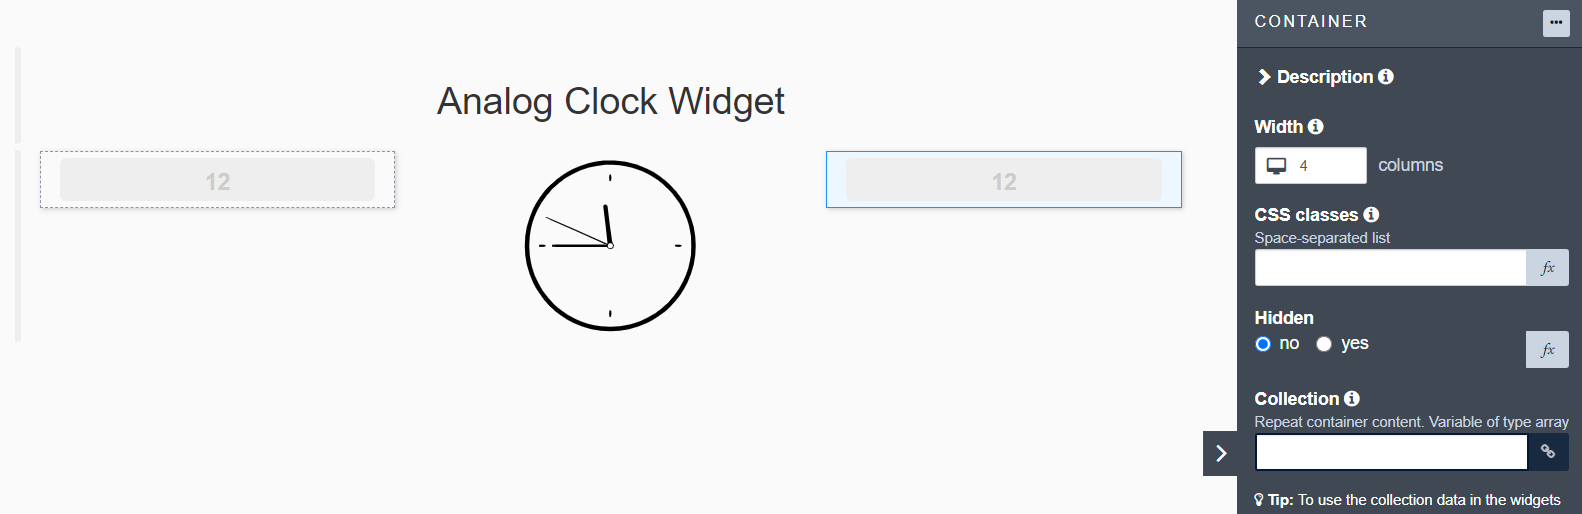
- Save the page and click on Preview to see the result.
Output
When you click on the preview button, you will see a clock displaying the current time on your browser.
Congratulations, you have successfully built your own analog clock widget!

I will explain in another upcoming article how we can define some properties of the clock widget that will allow us to use the same widget to display the time based on different time zones.
I would love to know what other kinds of custom widgets you would like to implement with Bonita UI Designer. Please share your tips and examples.
Stay tuned. Have fun with Bonita!